Leather goods have stayed popular for years. People love bags, wallets, and belts that feel personal. You can take plain leather and turn it into art with the right tools. Wooden stamps for decorating leather do just that. They let you add patterns, names, or logos that last. This guide shows how these stamps work, from picking them to finishing your project. You’ll learn tricks to make your leather pieces stand out.
Understanding Wooden Stamps for Leatherwork
Wooden stamps bring life to leather projects. They press designs into the surface without tearing it. Crafters choose wood for its solid feel.
Wood holds up well under hits from a mallet. It doesn’t bend like plastic might. Dense woods resist water, so stamps stay sharp after use.
Metal stamps need more force and work best with heat for some jobs. Wood suits hand-stamping on veg-tanned leather. It gives clean lines without extra tools.
Think of wood as a reliable friend in the shop. Maple or birch often get picked for their tight grain. This keeps engravings from blurring over time.
Anatomy of a Quality Leather Stamp
A good stamp has deep cuts for bold impressions. The design should show clear edges. Handles attach firm, so you can strike hard without slipping. Some come with mounts for presses.
Look for stamps at least 1/4 inch deep in relief. That grabs the leather fibers right. Poor ones wear fast and leave fuzzy marks.
Types of Wooden Stamps Available
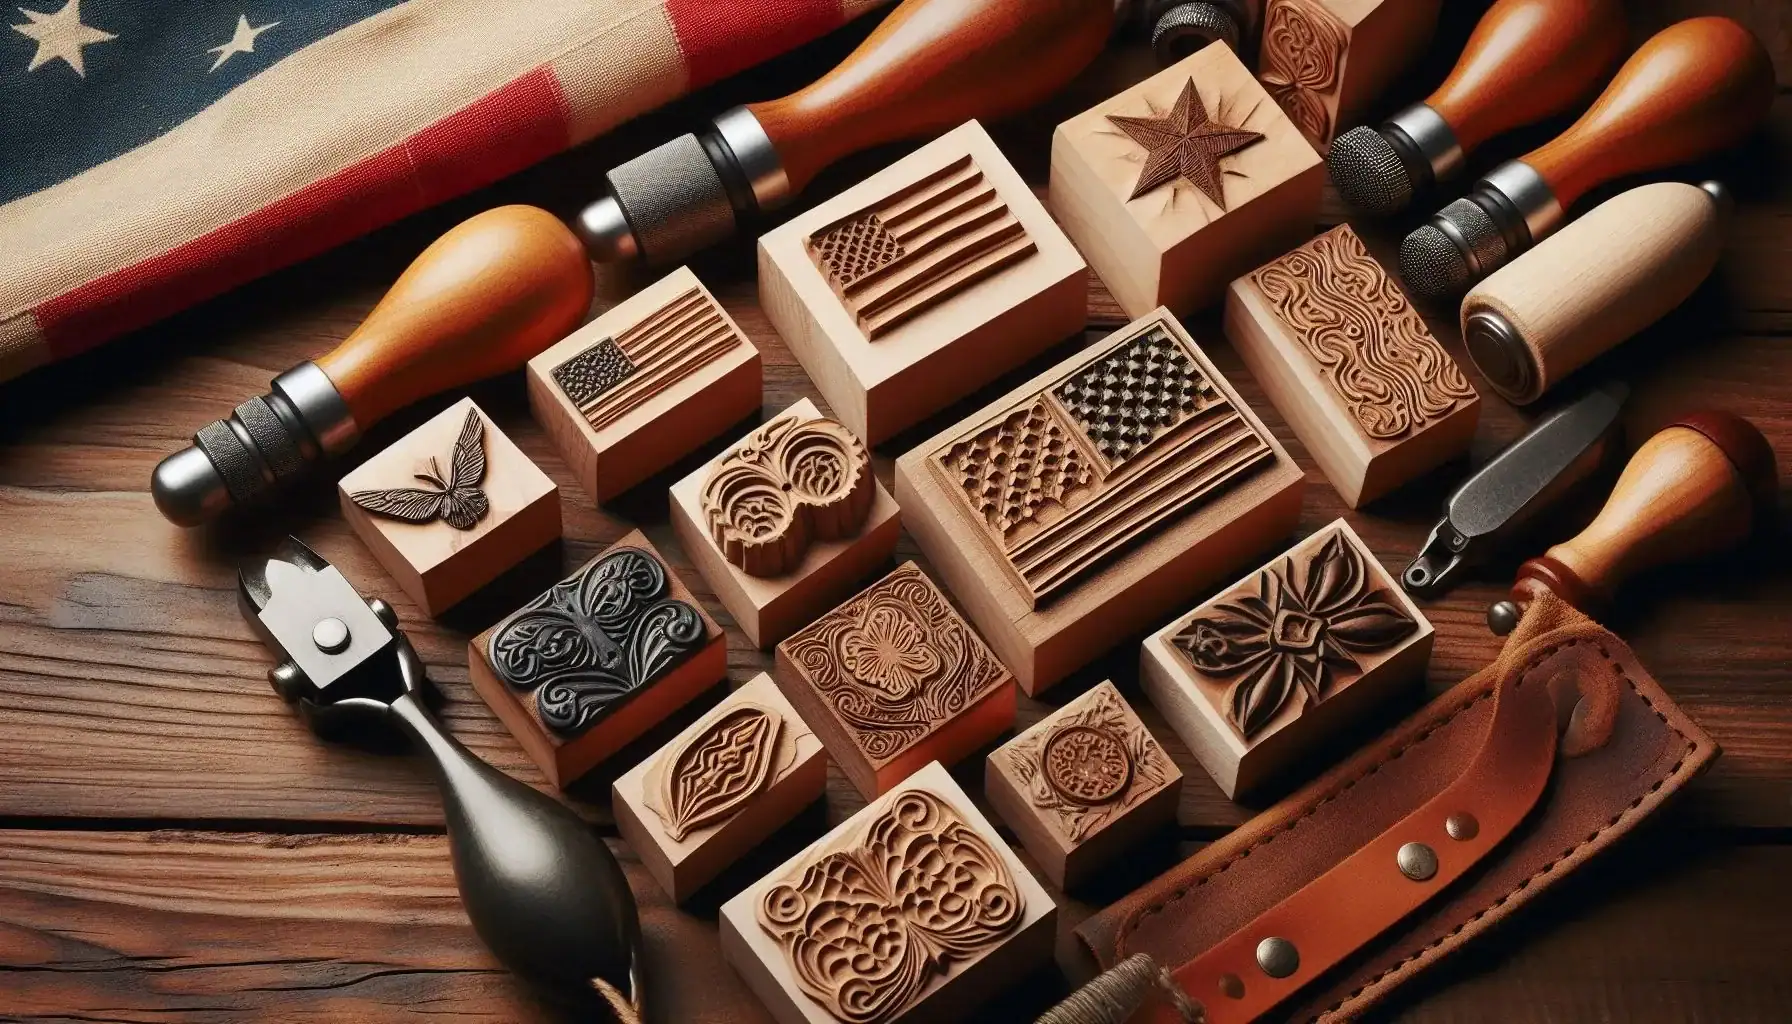
Stamps come in many styles for different needs. Alphabet sets let you spell out names or dates. Pattern ones add flowers or stars. Custom logo stamps match your brand. Floral designs suit purses. Geometric ones fit belts. Numbers help date journals.
Fixed vs. Modular Stamp Sets
Fixed sets include a full alphabet in one kit. You swap letters easy for monograms. Modular ones let you buy single pieces for borders or repeats. A full set costs more up front but saves time on big projects. Singles work great for simple repeats, like a vine along an edge.
Essential Preparation for Flawless Stamping Results
Prep sets the stage for success. Skip it, and your stamps flop. Start with the right leather and tools. Use vegetable-tanned leather only. It soaks up water and holds shapes. Chrome-tanned won’t take stamps well—it stays too slick.
Thick leather, like 8-10 ounces, fits big stamps on belts. Thin stuff, around 4 ounces, works for wallets. Match thickness to your design. Deep patterns need firmer hide to avoid stretch. Test a scrap first. Hit it light. See if the mark pops without cracking.
The Critical Role of Leather Conditioning (Casing)
Casing means wetting the leather just right. Too dry, and it resists the stamp. Too wet, and it warps. Soak a sponge in water. Wipe the surface even. Let it sit 20 minutes until it looks dull, not shiny.
Pat dry if needed. This makes fibers soft for deep prints. Aim for a moisture level where leather bends but springs back. Practice on scraps to nail it.
Setting Up Your Stamping Station
Your base matters most. A soft table won’t do—the stamp needs firm push-back. Get a granite slab or poly board made for leather. It weighs down and doesn’t bounce. Clamp it to your bench. Light helps too. Position lamps to spot errors fast. Keep stamps sorted in a rack nearby.
Choosing Your Stamping Implement
Mallet striking fits small jobs. Use a rawhide one to avoid dents. Dead-blow hammers cut rebound for even force.
For big stamps or repeats, an arbor press shines. It applies steady pressure without arm strain. Pick based on size—manual for fine work, press for volume. Start light. Build force in taps. This prevents slips.
Advanced Stamping Techniques and Depth Control
Once basics click, level up your skills. Control depth and layer designs for pro looks.
Achieving Crisp, Consistent Impressions
Strike straight down every time. Angle off, and edges smear. Use the same swing for each hit. Hold the stamp firm. Tap center first, then edges. This spreads pressure even. Practice rhythm. One solid whack often beats many light ones. Clean stamps between uses to keep them sharp.
Mastering Depth for Visual Impact
Deeper stamps catch more light in grooves. It adds shadow and pop. Shallow ones give subtle texture. Blind stamping skips color for a soft deboss. Great for clean logos on light leather. Vary force by project. Belts take harder hits than book covers. Test depths on waste pieces.
Utilizing Stamps for Texturing and Backgrounding
Texture stamps fill space around main designs. Basketweave adds grip to handles. Alligator grain mimics fancy skins cheap.
Stamp backgrounds first. Then add focal points. This builds layers without mess. Pick plates with even patterns. Roll or press them for full coverage.
Layering and Overlapping Stamped Elements
Overlap stamps to blend motifs. A floral border might weave leaves over stems. Place careful to hide joints. Crafters build scenes this way—think a stamped saddle with hills and horses.
One artisan I know layered 20 stamps for a river scene on a bag. It sold quick at a fair. Plan on paper first. Sketch positions. Stamp from light to dark for easy fixes.
Enhancing Stamped Leather with Color and Finish
Stamps alone look good, but color makes them glow. Add hues smart to highlight details. Antique by rubbing ink into recesses. Use wool daubers for even spread. Wipe excess fast.
Leather paints stick well in grooves. Alcohol inks dry quick for bold contrasts. Brush them in by hand. For gold effects, try metallic pigments. They catch eyes on dark leather. Let dry fully before next steps.
Post-Stamping Dye Application
Dye the whole piece after stamping. It sinks deeper where fibers compressed. This creates natural highlights. Apply with a sponge in even coats. Dark dyes amp contrast on light stamps. Test shades on scraps. One coat often suffices. Buff for shine. This method turns simple stamps into heirlooms.
Sealing and Protecting Your Work
Seal with Resolene or beeswax cream. It locks in color without blurring lines. Spray types work for even cover. Avoid thick varnishes—they fill details. Thin layers preserve texture. Apply in a dust-free spot. Let cure 24 hours.
Maintenance Tips for Stamped Leather Goods
Clean with a damp cloth weekly. Avoid soaking. Condition monthly with mink oil to keep supple. Store flat or hung. Sun fades colors over time. Brush dust from crevices gentle. With care, stamped items last decades. One old wallet I fixed still showed crisp 1950s stamps.
Conclusion
Wooden stamps for decorating leather open doors to custom magic. Prep with casing and firm setups ensures clean work. Techniques like layering and depth control build complex designs. Finish with dyes and seals for lasting beauty.
You now have tools to create pieces that wow. Grab some stamps and start small. Your next project could become a family keepsake. Dive in—personalized leather waits for your touch.