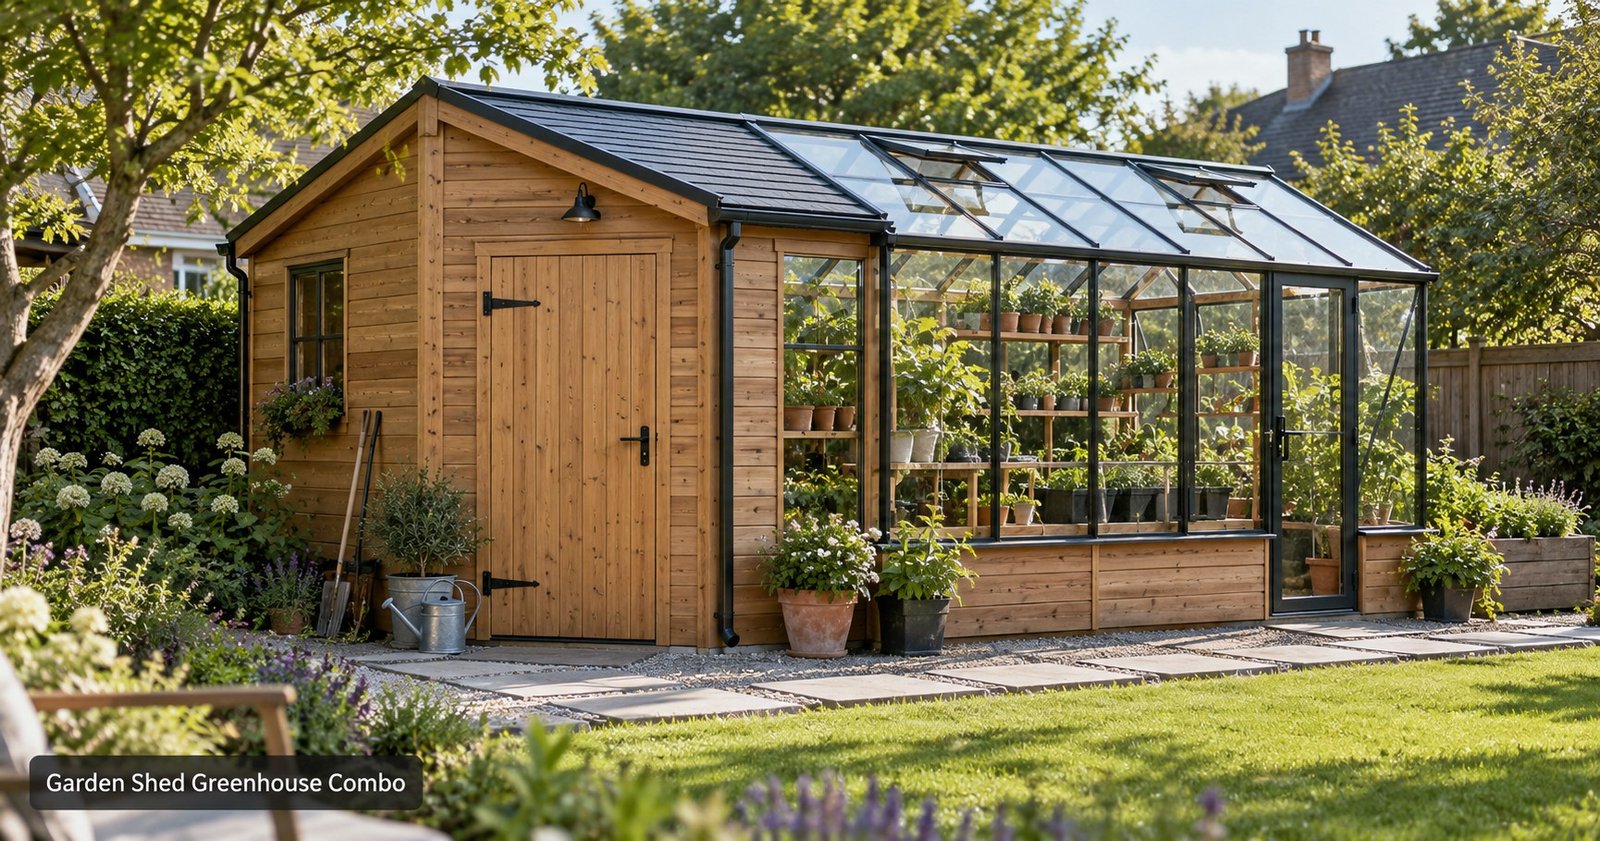
A garden shed greenhouse combo joins secure storage and a protected plant area under one roof. One side holds tools, compost, pots, and garden supplies. The glazed side gives seeds and plants the light and warmth they need. This setup suits a small yard where two separate buildings would take up too much space. A well-planned combo also makes garden work easier. You can store tools a few steps from the potting bench, keep soil away from delicate seedlings, and move plants into shelter when the weather changes. One shared base, roofline, and access path may also cost less than two separate structures.
Good results depend on more than the outside design. Sunlight, drainage, ventilation, storage needs, and local building rules all affect the plan. A poor location can leave the plant area too dark or cause the shed floor to stay damp. Weak airflow can also raise heat and moisture to harmful levels. Decide how you will use each section before you choose a kit or draw a custom plan. Count your large tools, estimate how many plants you want to raise, and measure the available yard space. This early work helps you choose a useful size instead of a structure that looks attractive but feels cramped.
Choose a Layout That Fits Your Garden
Start with an accurate site measurement. Mark the proposed footprint with string or stakes, then walk around it. Leave enough room to open each door, clean the panels, repair the walls, and move a wheelbarrow. A narrow gap between the structure and a fence can trap leaves and make maintenance difficult. Think about the space split inside the building. A 50/50 layout works for a gardener who needs equal room for plants and tools. A 70/30 split gives more space to crops, seed trays, and shelves. Gardeners with a mower, folding furniture, or several power tools may need the larger section for storage.
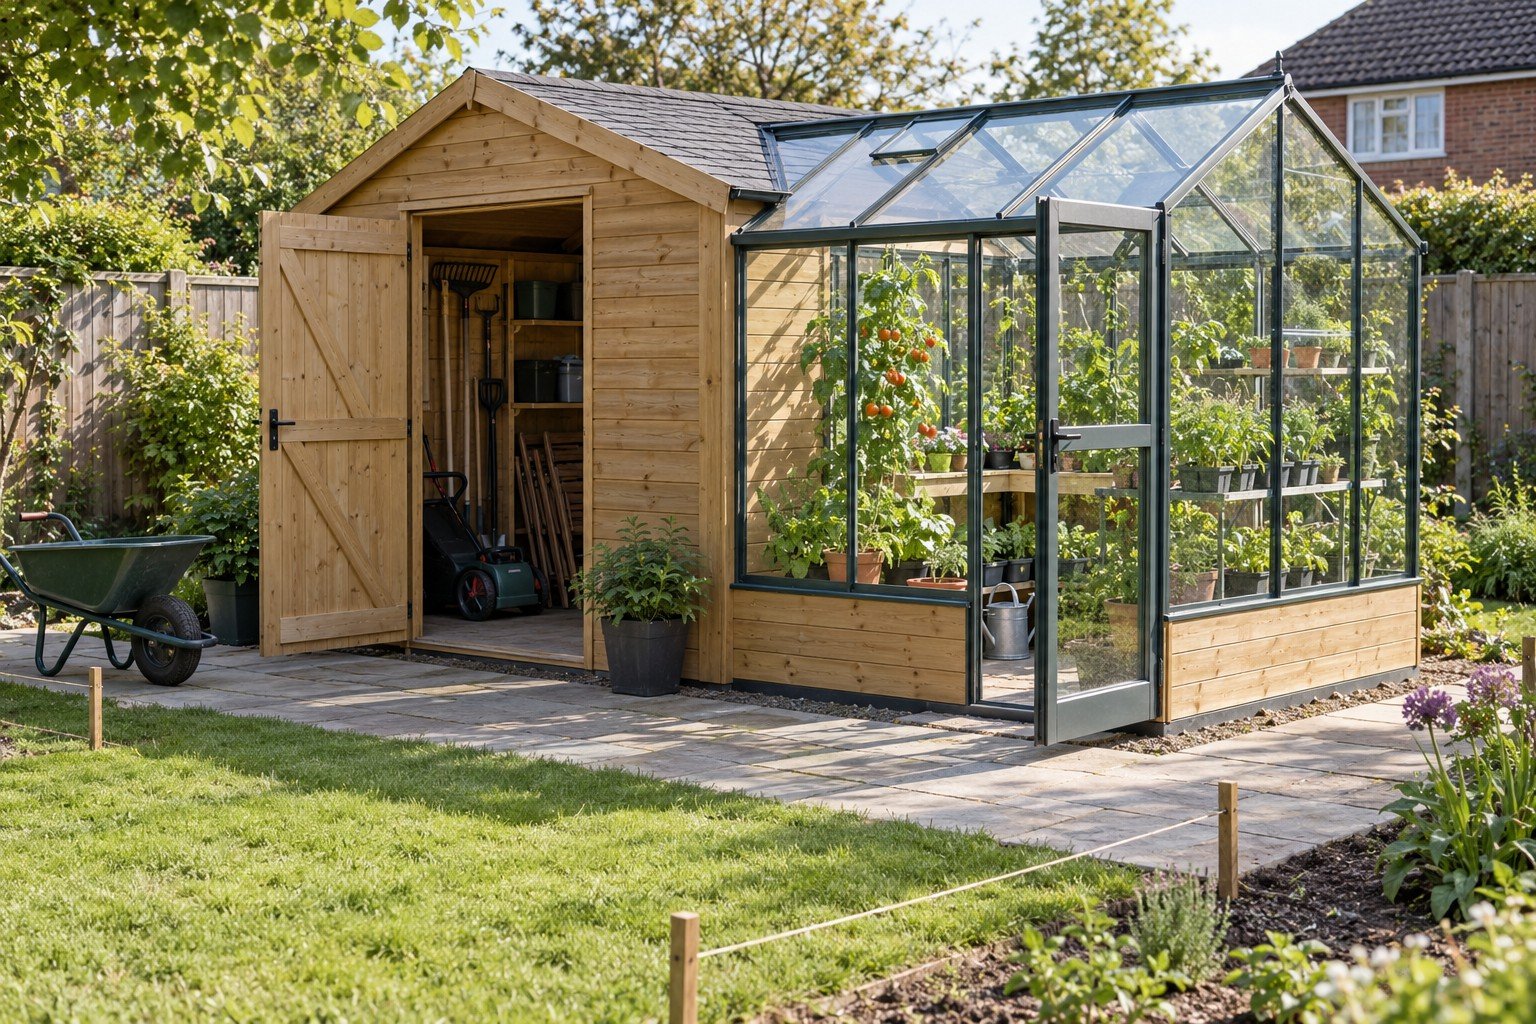
Several layouts work well, but each one serves a different purpose:
| Layout | Best use | Main point to check |
|---|---|---|
| Side-by-side | Regular access to plants and tools | Each side needs a practical door |
| Greenhouse in front | Strong light from an open yard | Shed must not cast afternoon shade |
| Greenhouse at one end | Long, narrow gardens | Path access around the glazed end |
| Potting area between sections | Frequent seed and plant care | Water control near the shed floor |
Door placement affects the whole plan. Separate outside doors keep warm, moist greenhouse air away from stored tools. An internal door makes it easier to move between the sections in cold or wet weather. If you add one, choose a door that closes firmly. This helps each side keep its own temperature and moisture level.
Find the Best Position for Sun and Access
Place the glazed section where it can receive at least six hours of useful sunlight during the main plant season. Watch the site from morning to late afternoon before you decide. Trees, fences, nearby homes, and the solid shed wall can all block light at different times. Winter shadows also stretch farther than summer shadows. The ideal direction depends on your climate and plant choice. A south-facing glazed wall often receives strong light in the Northern Hemisphere. That may help during cool months, but it can also cause excess heat in summer. Morning sun can dry moisture from plant leaves early in the day, which may reduce fungal problems.
Easy access matters as much as sunlight. Use a firm path from the house to the entrance so you can reach the building after rain. Leave space for a hose, water butt, or outdoor tap. The garden layout should also allow safe movement between beds, gates, and work areas. This guide to planning practical garden routes and plant areas offers more ideas for a usable yard layout. Avoid the lowest part of the garden. Rainwater can collect around the base and enter through doors or floor joints. A slight natural slope can help, but the structure itself needs a level foundation. Do not place it under weak branches or where roof snow, heavy runoff, or falling fruit may damage the glazing.
Build a Stable Base and Strong Frame
A solid base keeps doors square and protects the structure from ground movement. Common options include a concrete slab, paving slabs, a treated timber frame, or a compacted gravel base with a secure perimeter. The right choice depends on the building weight, soil, frost depth, and drainage. Follow the maker’s instructions if you buy a kit. Concrete gives strong support and creates a clean floor, but it costs more and can be hard to alter later. Paving slabs suit small and medium structures if the ground beneath them has good preparation. Compacted gravel drains well, though it may not provide a sealed shed floor. A timber base can work on a dry site, but untreated wood may rot after regular soil contact.
Choose the frame and panels with local weather in mind. Aluminium needs little care and does not rust like untreated steel. Wood has a traditional look and can hold shelves with ease, but it needs paint or stain. Twin-wall polycarbonate weighs less than glass and holds heat well. Toughened safety glass gives a clear view and resists breakage better than standard horticultural glass.
Check these items before construction starts:
- Confirm local rules for height, size, boundaries, and property type.
- Ask the utility service to mark buried lines before any digging.
- Check the maker’s wind and snow-load details.
- Plan roof gutters and a safe water outlet.
- Use corrosion-resistant fixings in damp areas.
- Secure the frame to the base as the instructions state.
Planning rules differ across countries, states, and local councils. Size, height, boundary distance, land type, and intended use may affect approval. Contact your local planning or building office before you buy materials. Never assume that a small garden structure has automatic approval.
Control Heat, Airflow, Water, and Moisture
A greenhouse can become dangerously hot on a clear day, even when the outside air feels mild. Add roof vents because hot air rises. Low side vents allow cooler air to enter and create steady airflow. Automatic vent openers offer a simple option when no one is home to check the temperature. Shade cloth can protect plants during the hottest part of the year. Fit it outside the glazing when possible because external shade blocks heat before it enters. A small fan may help in still weather, but use electrical products rated for damp locations. Ask a qualified electrician to install permanent power.
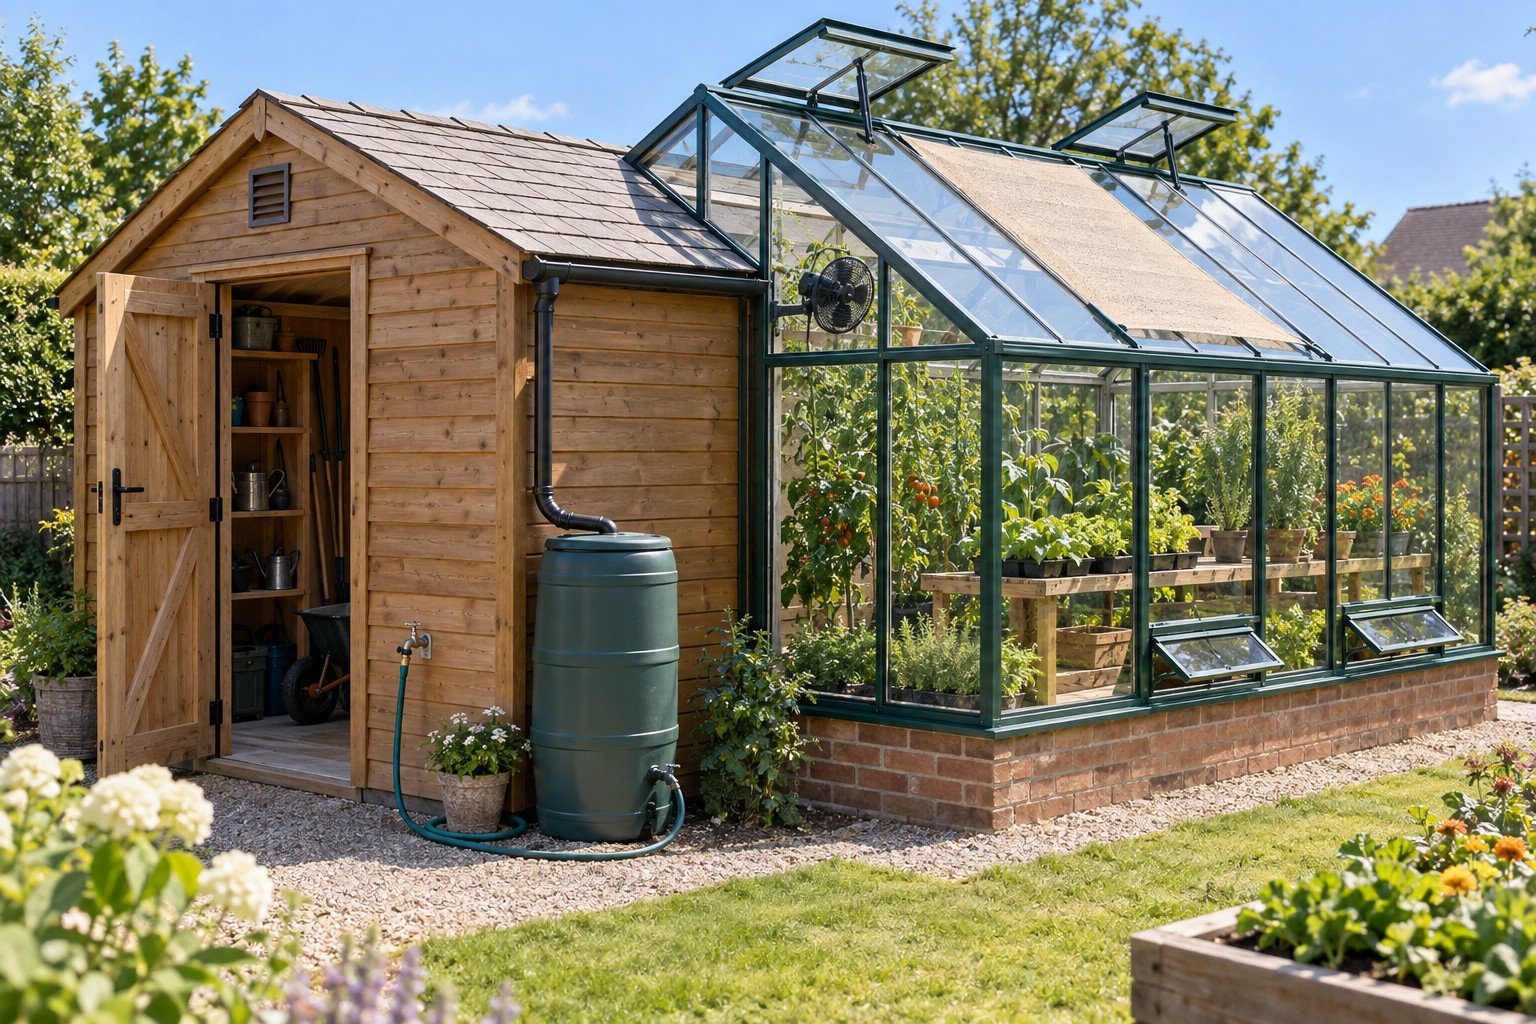
Keep water use simple. A nearby tap and a lightweight hose can serve a small structure. Guttering can direct roof water into a covered water butt, though the supply may run out during a dry spell. Place plant trays where spilled water cannot reach tools, timber shelves, fertilizers, or electrical fittings. Moist greenhouse air can damage the shed section. Use a sealed wall between the two spaces and close gaps around frames. Add vents to the shed if condensation appears on tools or roof panels. Store chemicals in their original containers, away from heat and direct sun. Keep fertilizers, pesticides, fuel, and sharp tools out of reach of children.
Plan the Interior Around Daily Tasks
Set up the inside according to the work you do most often. A bench near the greenhouse entrance gives you a place to fill pots without carrying soil across the whole floor. Shelves above it can hold labels, hand tools, and empty trays. Keep heavy compost bags and watering cans on the floor to prevent shelf failure.
Greenhouse shelves should allow light to reach lower plants. Slatted benches help air move around pots and let spilled water drain. Narrow shelves along the glazed wall suit seedlings and small herbs. Taller plants need clear floor space where roof height and light remain suitable. Use the solid shed walls for hooks, racks, and deep shelves. Hang long tools so their sharp ends do not face the doorway. Give the mower, wheelbarrow, and large bags their own floor area. A clear central route reduces trips and makes it easier to remove equipment without shifting several boxes first.
Plan for changes across the year. Spring may require more tray space, but autumn may bring extra pots, covers, and harvested crops. Removable shelves offer more choice than fixed units. Check your local growing season before you select crops; the USDA Plant Hardiness Zone Map can help gardeners in the United States choose plants suited to local winter temperatures.
Estimate the Full Cost Before You Buy
The kit or frame price is only one part of the budget. Groundwork, delivery, assembly, glazing, gutters, shelves, water access, and electrical work can add a large amount. Custom sizes and unusual doors also raise the price. Ask each seller for a written list of what the quote includes. A DIY build can reduce labour costs if you already own the tools and understand basic construction. It can also take longer than expected. Poor base work may cause cracked panels, uneven doors, or roof leaks. Hire help for concrete work, electrical connections, or a large frame if those jobs exceed your experience.
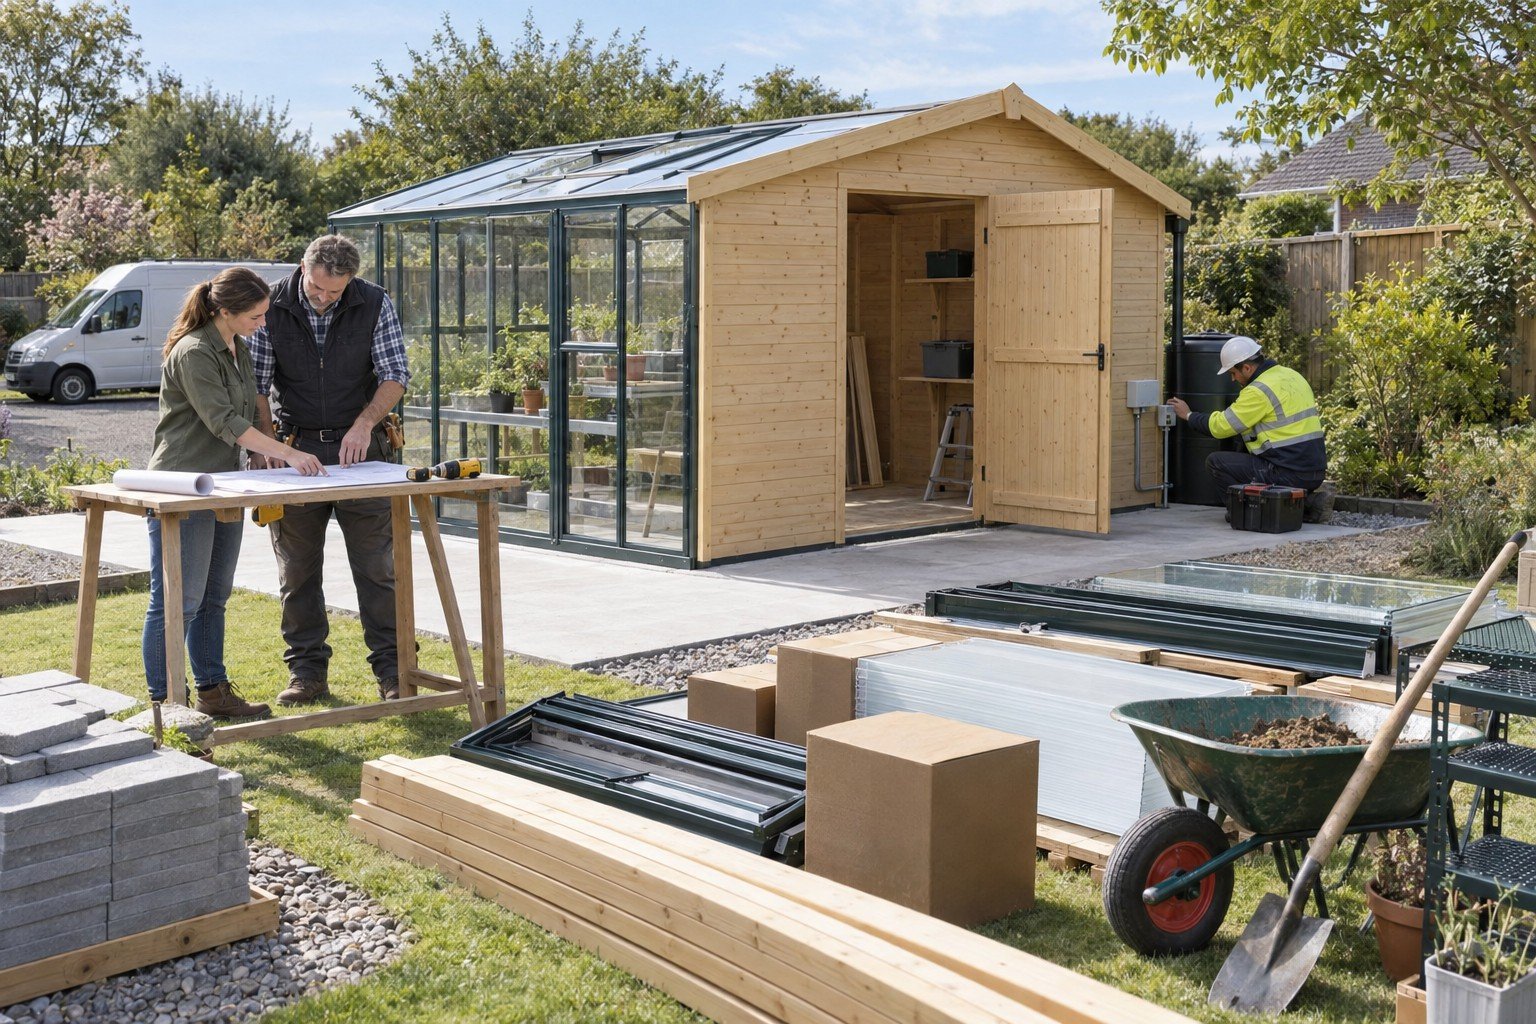
Compare products through their specifications, not photos alone. Check wall thickness, frame material, panel type, door width, vent count, guarantees, and replacement-part access. Read the assembly manual before purchase if the company provides it. That document often shows whether the build needs special tools or extra workers.
Local housing groups, greenhouse communities, and garden clubs can provide useful feedback on wind exposure, builders, and local rules. Share your finished guide or project photos only where they answer a real question. Local organizations may also link to a useful page if it offers accurate measurements, planning details, or lessons from an actual build.
Conclusion
A garden shed greenhouse combo works best when each side has a clear job. Give plants enough sun, air, and water, then protect the storage area from heat and moisture. A level base, sensible door layout, and safe internal route will make the structure easier to use. Measure the site, check local rules, and list the items you need to store before you order anything. Choose materials that suit your weather and set aside money for the base and interior fittings. Careful planning at the start can prevent damp tools, weak plant growth, blocked doors, and costly changes later.